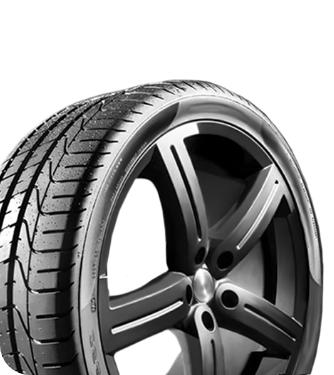

How To Guide: 6 Steps To Properly Patch a Tire
Tires |Having a flat tire is a common issue many drivers face. So, knowing how to patch it correctly can save you time and money. The six steps to properly patch a tire in our how-to guide below are simple to follow and will help you get back on the road. Let’s get started!
Step 1: Assess the Damage and Prepare Your Tools
First, inspect the tire to determine the extent of the damage. It is best to replace the tire entirely if the puncture is on the sidewall or larger than a quarter-inch. Gather the necessary tools for smaller punctures, such as:
- Tire plug kit (includes a plug insertion tool, a rasp, and plugs)
- Tire pressure gauge
- Pliers
- Lubricant or soapy water
Step 2: Remove the Puncture Object and Clean the Area
Using the pliers, carefully remove the puncture object, most likely a nail or screw. Then, use the rasp tool from the tire plug kit to clean the hole, making it easier to insert the plug later. Apply lubricant or soapy water to the rasp before inserting it into the hole to reduce friction.
Step 3: Prepare the Plug and Insert It Into the Hole
Take a plug from the tire plug kit and thread it onto the plug insertion tool, centering it on the tool. Apply some lubricant or soapy water to the plug to help it slide into the hole more easily. Holding the insertion tool, push the plug into the hole until only a small portion remains visible outside the tire.
Step 4: Remove the Insertion Tool and Trim Excess Plug Material
Carefully pull the plug insertion tool straight out, ensuring that the plug stays in place. Next, use a sharp blade to trim any excess plug material flush with the tire’s surface.
Step 5: Check the Tire Pressure and Inflate if Necessary
Using a tire pressure gauge, check the pressure level in the patched tire. Inflate the tire to the appropriate pressure according to your vehicle’s owner’s manual if it is below the recommended level.
Step 6: Test the Patch for Leaks
After patching the tire, test it for leaks by pouring soapy water on the patched area and watch for any bubbles. The patch has a proper seal if no bubbles appear.
Conclusion
Now you know the basic six steps to properly patch a tire, via our how-to guide. Patching a tire can be a time-saving solution for small punctures, but it is also essential to keep in mind that it is a temporary fix. Regularly inspect your tires and consider investing in professional services and high-quality tires for your safety.
There’s no better place to find tires in Lubbock than RNR Tire Express if you’ve had to patch a tire and now need a replacement. Our wide selection of high-quality and affordable tires is ideal for all vehicles, and our tire experts will help you find the best tires for your car. Browse our inventory online or schedule an appointment at one of our tire shops today!


