Tires
|
May 30, 2019
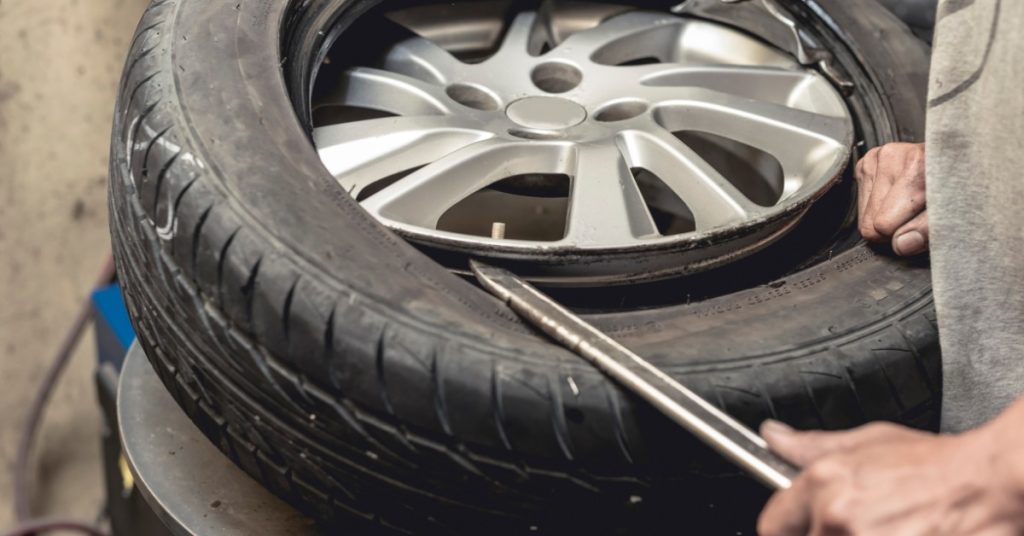
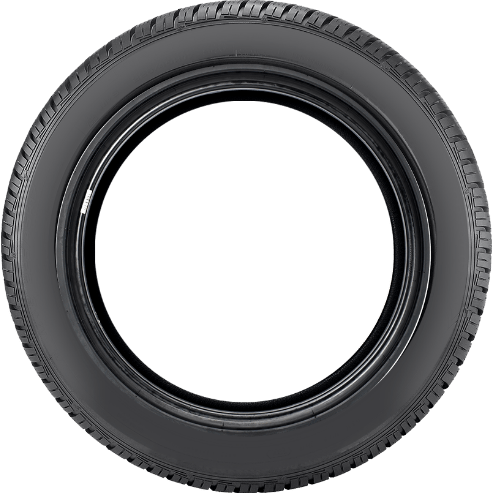
Removing a car tire from the rim sounds like a job reserved for a repair bay, but the basic process is easier to understand once you know what holds the tire in place. The tire does not simply sit on the wheel. Its inner edge (the bead) grips the rim tightly to seal air inside, so the tire can carry the vehicle safely.
That strong seal helps your tire do its job on the road, but it also means removal takes the right tools, the right technique, and a careful approach. Below, we’ll explain how to remove your car tires from the rim.
A tire fits around the wheel through two reinforced edges known as beads. These beads press tightly against the rim when inflating the tire. Air pressure pushes the bead outward, which creates a firm seal between the rubber and the metal wheel.
That seal must stay strong through bumps, heat, braking, turning, and changes in road conditions. Because of that, you cannot remove a tire from a rim by simply pulling on it. You must release the air, break the bead, lubricate the rubber, and work the tire over the rim without damaging either part.
Tire removal requires force, and that force can damage the wheel, tire pressure sensor, or tire bead if you rush the work. Many modern vehicles also use tire pressure monitoring system sensors inside the wheel. Careless tool placement can crack or break one of those sensors.
You should also consider the tire’s condition before attempting removal. A tire with sidewall damage, dry rot, exposed cords, or a severe puncture may react differently during removal. If the tire looks unsafe to handle, let a tire shop remove it instead of forcing the process at home.
To remove your car tires from the rim, you need the right tools. You’ll need a stable work area, a valve core tool, tire lubricant, a bead breaker, tire irons, and protective gloves. Some people use improvised tools to remove tires, but that raises the risk of bent rims, damaged beads, and personal injury.
You also need a way to keep the wheel steady while you work. A tire changing stand makes the job much easier, but a clean, flat surface can work for basic understanding or limited hands-on work.
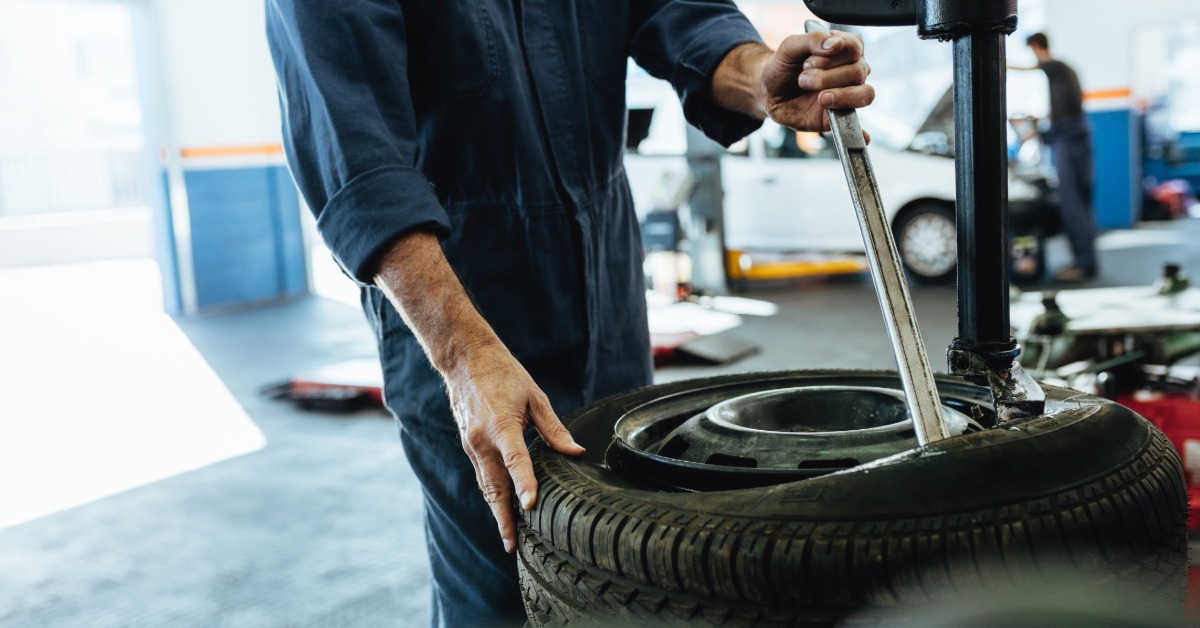
Before you can separate the tire from the rim, you need to remove the wheel from the vehicle. Park on a level surface, set the parking brake, and loosen the lug nuts before lifting the car. Use the correct jack points for your vehicle, and support the car with jack stands before removing the wheel fully. Once the wheel comes off, place it flat on the ground with the valve stem facing up.
You must completely deflate the tire before you try to remove it from the rim. Remove the valve cap, then use a valve core tool to unscrew the valve core from the stem. Air will rush out, so keep your face and hands clear of the valve opening.
Wait until the tire has no remaining pressure. Press the sidewall gently to confirm it feels loose and deflated. Never try to break the bead while air remains inside the tire.
Breaking the bead means separating the tire’s inner edge from the wheel’s bead seat. This is the hardest part of the process for most people because the bead grips the rim tightly. A bead breaker applies precise pressure to push the tire away from the rim without cutting or tearing the rubber.
Place the bead breaker near the tire’s edge, not in the center of the sidewall. Apply pressure until you hear or feel the bead release. Rotate the wheel and repeat the process in several spots until the bead separates all the way around one side, then flip the wheel and repeat the same process on the other side.
Tire lubricant helps the rubber slide over the rim instead of grabbing, stretching, or tearing. Apply lubricant around the bead area on both sides of the tire. Avoid harsh household chemicals because they can dry out rubber or leave residue on the wheel.
Once the bead breaks loose and the tire has enough lubricant, you can start lifting the first bead over the rim. Plant the tire iron between the tire bead and the wheel edge. Pull the tire bead upward and over the rim, then hold that section in place while you work a second tire iron a few inches away.
Move around the wheel in small sections. Do not try to pry off a large section at once because that can damage the bead or mark the wheel. With steady pressure and patience, the first side of the tire will gradually come over the rim.
After the first bead clears the rim, the second bead still holds the tire to the wheel. Push the tire downward so the remaining bead sits in the wheel’s drop center. The drop center gives the tire extra room to move and makes the final removal easier.
Use the tire irons again to lift the second bead over the rim. Work slowly, and lubricate the tire if it resists. Once enough of the bead clears the rim, you can pull the tire away from the wheel completely.
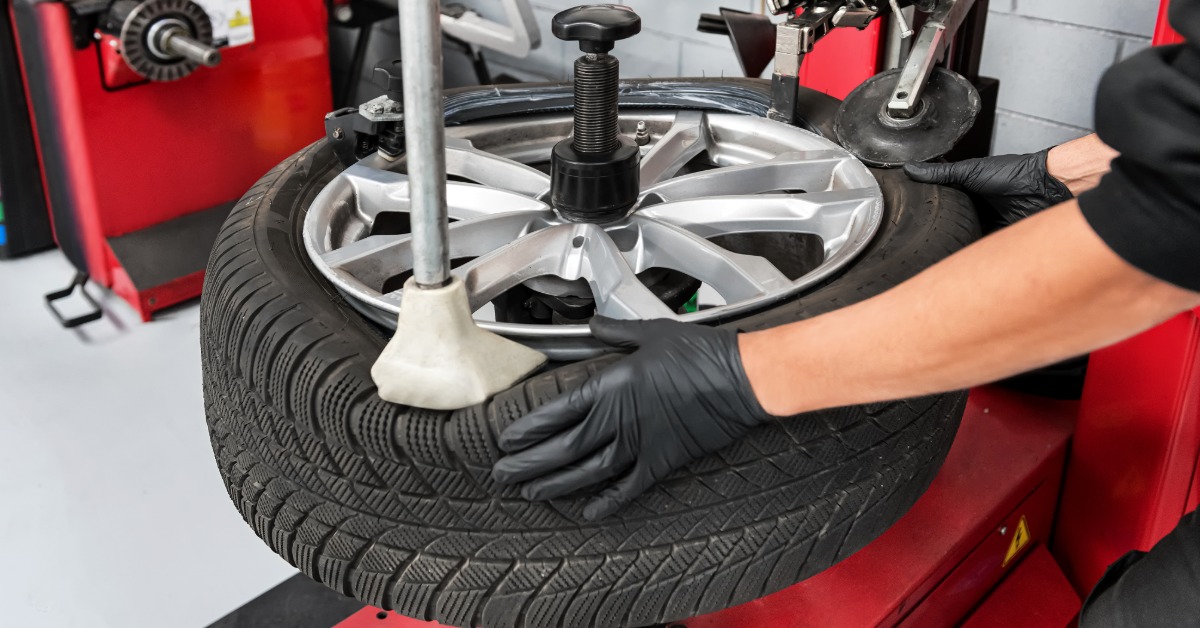
Many newer vehicles have a sensor near the valve stem inside the wheel. This sensor helps monitor tire pressure, but it can break if you hit it with a tire iron. Before prying near the valve stem area, assume a sensor may be present unless you know the wheel does not have one.
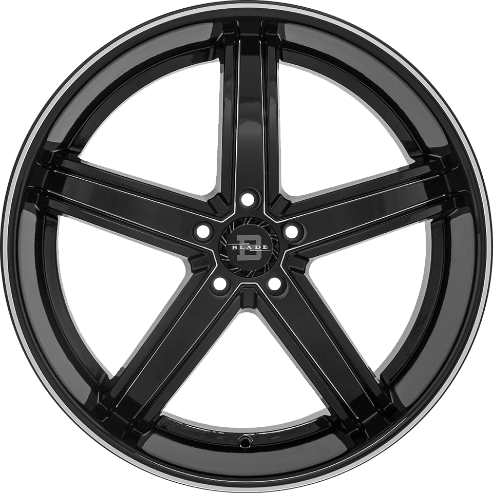
Once the tire comes off, inspect the rim before mounting another tire. Look for bends, cracks, corrosion, deep scratches, or buildup along the bead seat. Damage in this area can prevent the new tire from sealing correctly.
A rim may look fine at first glance but still have problems that affect air retention. Corrosion, old sealant, or rough edges can cause slow leaks after installing a new tire. A professional tire shop can clean the bead seat, check the wheel, and help determine whether the rim remains safe to use.
Removing a tire from a rim takes more than strength because the bead, wheel shape, air seal, and sensor placement all matter. The safest results come from using the right tools, taking your time, and knowing when the job needs professional equipment.
If you need help replacing damaged tires, checking your rims, or finding tires in Tupelo, MS, visit RNR Tire Express for tire and wheel options that fit your vehicle and your budget. Our team can help you get back on the road with the right setup and a service experience built around real drivers.
By signing up you agree to our Privacy Policy.